

Welcome to this complete guide to developing a healthy vocal presence within a choir. This article explains, step by step, how to assess your tone, work on diaphragmatic breathing, and expand your range without strain.
You will find practical methods for recording yourself with a large-diaphragm cardioid condenser microphone at 15–20 cm, using a pop filter, and analyzing your takes in a quiet environment. These habits support reliable self-assessment.
The warm-ups suggested move from low to high: scales, glissandi, “ng” sounds, covering, sirens, arpeggios, and controlled vocal fry. They protect vocal health and encourage measured progress.
No matter your starting level, structured work improves singing, pitch accuracy, and collective listening. You also gain on a human level: cohesion, enjoyment, and confidence on stage.
Understanding Choral Singing in France and What “Placing Your Voice” Means Today
Modern choral singing in France is based on the balance between individual identity and the shared sound. It shows how to sing precisely while respecting the line of the ensemble. Singing in a choir is accessible to everyone, whatever the style: classical, sacred, gospel, or popular music.
A choir is organized into soprano, alto, tenor, and bass sections. Each group follows a distinct line that harmonizes with the others. Understanding your role helps collective pitch accuracy.
Placing your voice here means stabilizing your vocal production so you can blend into the collective sound without losing your personality. It is about controlling volume, color, and shared articulation.
- The choir director remains the reference point for meter, phrasing, and dynamics.
- The clarity of your line makes section tuning and cohesion easier.
- Good technique supports expressiveness: interpretation can be rich in emotion without excessive tension.
This article guides you toward finding that balance and better integrating your place within the ensemble.
Assessing Your Voice Before Singing in a Choir
Start by recording your singing to identify pitch accuracy, tone, and areas of tension. A short, objective recording reveals elements the inner ear does not always hear.
Recording Yourself to Analyze Pitch, Tone, and Comfort
Simple method: memorize the lyrics and key, warm up, then place a large-diaphragm cardioid condenser microphone 15–20 cm away, with a pop filter, aimed toward the mouth, in a quiet place.
As you listen back, note posture, mouth opening, larynx position, pitch accuracy, and rhythm. This practice gives you reliable takes for comparing several attempts.
Identifying Strengths, Weaknesses, and Sensations Without Forcing
Use a listening checklist: precise onsets, steady breath, consistent vowels, clear consonants. Notice tension in the neck, tongue, or jaw, as well as any dryness.
- Stable recording setup: 15–20 cm, cardioid microphone, pop filter, quiet surroundings.
- Regular self-assessment: compare takes to track progress and decide how to work on weak points.
- Can you self-correct? Yes: by combining recordings, feedback from the director, and simple reference points.
Practical tip: adjust without forcing. Calmly listening to your vocal production will help you choose the right exercises to work on your voice.
Determining Your Vocal Range and Voice Type to Choose the Right Section
Mapping your range is done at the piano, moving upward and then downward at a gentle pace.
Practical Reference Points for Finding Your Range Without Tiring the Vocal Cords
Start by singing a simple scale, then note the first and last notes you can reach without pushing.
Repeat over several days and write down the date. Range varies with sleep, hydration, and stress.
This technique is enough to begin; a teacher can then clarify your voice type.
Correspondences Between Soprano, Alto, Tenor, and Bass Sections
In SATB, female voices often sing the soprano or alto sections. Male voices are generally divided between tenor and bass.
- Soprano: high melody.
- Alto: middle range, harmonic support.
- Tenor: male upper register.
- Bass: harmonic foundation.
“Choose the section that lets you sing for a long time without fatigue.”
For longevity, placing your voice in its freest zone helps avoid overworking the vocal cords and improves musicality.
Choosing the Right Choir and the Working Atmosphere That Suits You
Finding the ideal group starts with defining your priorities: musical style, required level, rehearsal frequency, and artistic goals.
Practical criteria: beginner or advanced level, repertoire (classical, religious, gospel, French chanson), atmosphere (professional, relaxed, demanding), and ensemble size. These elements determine your comfort and the place that will suit you.
The entrance audition is used to check range, sense of rhythm, sight-reading, and the ability to listen collectively.

Small ensemble = individual responsibility and precision. Large choir = breadth of sound and blend. Try a rehearsal to observe the director’s teaching style, the group spirit, and the attention given to how to take care of vocal health.
Where to look: town hall, Philharmonie de Paris, La Corde Vocale, Facebook groups, or your personal network. To learn how to find suitable training, also consult offers for singing lessons.
If you want to progress faster, supplementing with individual lessons can be useful. Everyone can find their place, perhaps with targeted technical support.
The Role of the Choir Director, From Rhythm to Dynamics
The director’s conducting structures the collective tempo and clarifies each entrance, ending, and breath. This simple gesture allows singers to stay synchronized and follow the musical line.
Meter, Phrasing, and Articulation
The beat pattern indicates accents and silences. It prevents shifts and makes entrances clean.
Phrasing builds the line: pauses, connections, dynamics. Coordinated articulation of consonants prevents cacophony.
Section Balance and Dynamics
The director adjusts volumes to make the color more uniform between sections. The placement of the voices is often refined during rehearsals.
Dynamic instructions (piano, forte, crescendo) shape emotion and clarify the text.
“Rhythmic precision and collective discipline transform a group into a true vocal orchestra.”
Finally, the director’s educational role is to give targeted feedback, suggest technique exercises, and organize auditions to place each voice as well as possible.
Basic Vocal Technique for Choir: Breathing, Placement, Articulation
Mastering breathing habits and resonance immediately changes the collective quality of the singing.
Diaphragmatic Breathing for Support
Inhale while allowing the abdomen to rise, then control the exhalation. This expansion creates stable support.
Goal: achieve a regular airflow to finish each phrase cleanly. Support helps projection and endurance without forcing.
Natural Placement and Resonance
Start on a speaking pitch and look for nearby resonance, without raising the larynx or stiffening the jaw.
Keep the neck long, shoulders relaxed, and pelvis stable to free the resonance.
Diction and Simple Exercises
Work on clarity through rhythmic reading, tongue twisters, sustained vowels, and consonant-vowel sequences.
- Reading aloud, with variable tempo.
- Short tongue twisters for precision.
- Sustained vowels on controlled breath.
Choral objective: clear lines, aligned articulation between sections, and a homogeneous final sound.
If needed, a few targeted singing lessons can quickly correct breath, posture, and vocal production habits.
Vocal Warm-Up Before Singing: Quick and Effective Routines
Before each rehearsal, start with simple actions that awaken breath and resonance.
Gentle Exercises to Activate Breath and Vibrations
8–10 minute routine: silent breathing, “mm” sounds or gentle humming, lip trills, tongue trills, then scales. Start low and stay comfortable.
Progressive Scales From Low to High
Move up in small steps and come back down slowly. Use the piano if the group needs guidance. A cappella, favor simple intervals to strengthen the ear.
Mobility of the Jaw, Tongue, and Lips
Self-massage the masseters, gently stretch the tongue, and make small circles with the lips. These mobilizations free articulation and prepare diction.
- Gradation: increase the span step by step.
- Intensity: stay moderate so you do not tire the voice.
- Connection: finish with a few phrases from the repertoire at a slow tempo.
| Exercise | Duration | Objective |
|---|---|---|
| Silent breathing | 1–2 min | Support and control |
| Humming or “mm” sound | 2 min | Activation of resonance |
| Lip and tongue trills | 2–3 min | Relaxation and register transition |
| Progressive scales | 2–3 min | Warming up the range |
Reminder: the goal is to activate vibrations and coordination without forcing. Measured intensity is enough: it will help throughout the rehearsal.
For additional ideas, consult a practical list of 9 effective warm-ups.
Working on Pitch Accuracy and Relative Ear in Choir
Learning to recognize intervals helps each singer find their place without forcing. Regular relative listening practice stabilizes pitch accuracy and strengthens collective confidence.

Interval Recognition and Tonal Anchoring
Start by singing common intervals: seconds, thirds, and fifths. Memorize anchor points on the tonic.
Identify functions: tonic, dominant, subdominant. Keeping this reference helps correct intonation in real time.
Active Listening to the Section and the Shared Sound
Suggest group exercises: one section holds a drone while others sing intervals around it.
Reverse the roles so everyone understands the relationship between the support note and the harmonic voices.
- Follow a reference section to adjust in real time.
- Breathe and articulate together to make vowels more uniform.
- Practice cross-listening: listen to your section, then to the whole ensemble.
Reminder: a regular method for relative ear improves pitch accuracy and enriches the group’s resonance.
Holding Your Melodic Line Without Being “Pulled In” by the Sopranos
When facing a prominent high line, the challenge is to stay centered on your part. The reason: the human ear naturally favors the brightest sounds, which can push you to follow the main melody rather than your own line.
Auditory Placement Tips and Harmonic Reference Points
Start by listening to the bass to anchor the chord. This creates a stable reference that helps each section stay in its place.
Stand near an experienced singer from your section to align yourself. But change places regularly to maintain your independence.
- Identify thirds and sixths with the harmonic surroundings.
- Work on breathed entrances and identical articulation to secure the line without forcing.
- Review your part in isolation, record it, then layer it with the others to strengthen stability.
Finally, control your volume and project straight ahead: good spatial placement maintains presence in the chord without trying to cover others. This can improve the cohesion of the singing while protecting the voices.
“Staying faithful to your line strengthens collective harmony.”
Placing Your Voice in a Choir: Techniques and Tips
A complete guide should offer a clear and practical method. Here is a short plan for progressing every week, whatever your level.
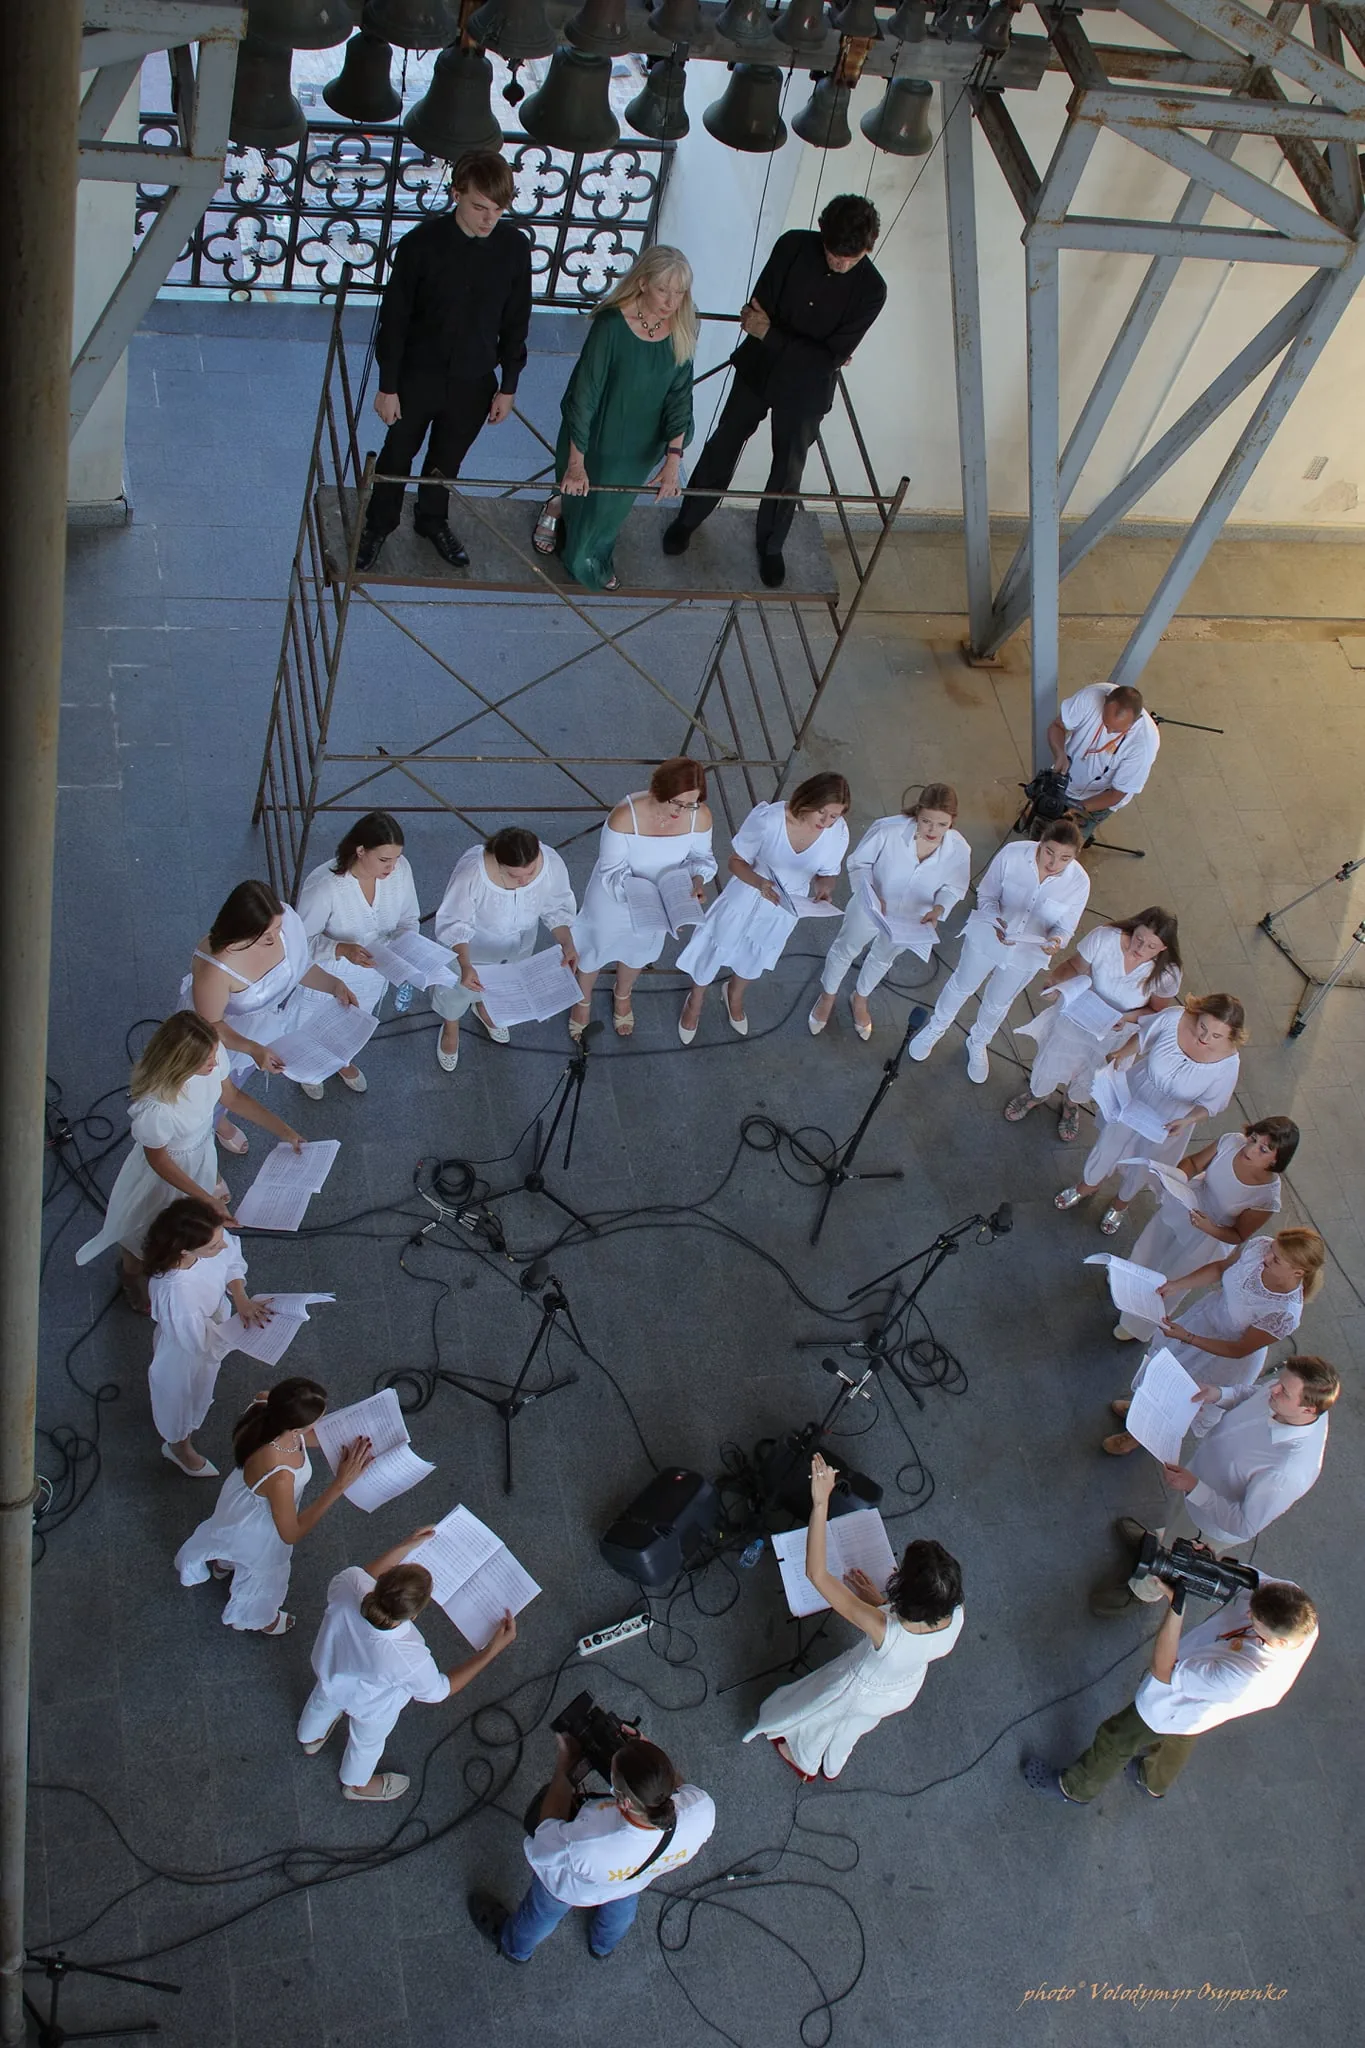
Step-by-Step Method for Placing Your Voice in the Choir
Steps:
- Assess: record a simple take to identify one precise point to improve.
- Target: choose one skill (breath, placement, articulation).
- Practice for 10–15 minutes: focused and regular work.
- Reassess: comparative listening and adjustment.
Working on Your Voice Every Day, No Matter Your Level
Recommended short ritual: 3 minutes of breathing, 5 minutes of resonance and placement, 3 minutes of diction, 5 minutes on the current piece.
Follow the sensation of sung speech to obtain a free, lasting sound. The alignment between emotion and technique makes each phrase audible and coherent.
| Objective | Duration | Expected Result |
|---|---|---|
| Breath support | 3 min | Control and endurance |
| Speech-like placement | 5 min | Free sound without tension |
| Diction | 3 min | Collective intelligibility |
| Repertoire | 5–10 min | Integration of phrasing and dynamics |
Quick checklist: assess, target, practice briefly, listen again, note progress in a practice journal.
Healthy Vocal Placement: Balancing Aesthetics, Projection, and Health
Successful placement combines controlled projection and comfort for the vocal cords. There are two approaches: theatrical speech, focused on efficiency and longevity, and classical singing, which seeks rich resonance.
Avoiding Over-Resonance at the Expense of Vocal Health
The first principle is simple: protect the vocal cords. Keep the larynx free, avoid squeezing, and reject the tension that creates an artificial “big sound.”
Warning: searching for excessive resonance causes fatigue and tension. Comfort must take priority over effect.
Warning Signs: Fatigue, Discomfort, Loss of Flexibility
Spot the signs quickly: a scratchy voice, a narrowing range, high notes that slip away, or slow recovery after effort.
To correct this, lighten the onset, lower the perceived pitch, and guide the vowels toward more neutral positions. Use this very simple technique: being able to speak after rehearsal without discomfort is the best test.
In practice: favor the balance between aesthetics, projection, and health. Knowing how to take care of your voice allows you to last and offer the ensemble a stable sound.
Preserving Your Voice in Rehearsal and Concert
Protecting the instrument starts with simple habits before, during, and after sessions.
Hydration, Rest, Work Planning
Drink water regularly throughout rehearsal time. Enough sleep supports vocal health.
Plan the weekly workload: short and targeted sessions, recovery days, and breaks every 30–45 minutes during long rehearsals.
Adapting Intensity and Color to the Ensemble Sound
Learn to reduce intensity so you can blend into the group. Adjust timbre according to the room and repertoire.
- Avoid trying to hear yourself too much or imitating the main line.
- Do not push; do not hold back either. These mistakes quickly tire the voice.
- Respect the director’s instructions; discipline helps all singers.
Daily vocal care: small neck stretches, gentle voiced breaks, hydration. This can prevent repeated tension.
“Preparing your practice and listening to the group protects vocal production over the long term.”
| Measure | Frequency | Expected Effect |
|---|---|---|
| Hydration | Continuous | Flexibility of the vocal cords |
| Vocal breaks | Every 30–45 min | Recovery |
| Small stretches | After each piece | Reduced tension |
| Targeted lessons | Once a month | Vocal economy strategies |
If necessary, take a few singing lessons to learn vocal economy methods. This way, the voice remains solid during concerts; it also keeps its freedom over time.
Targeted Exercises: High Notes, Low Notes, and Register Transitions
A few short routines help you move through registers without tension. Precise vocal exercises support fluidity and confidence on every note.
Glissandi, “ng” Sounds, and Vocal Covering
Glissandi serve as a bridge for exploring the upper range. Do them slowly, moving up in small steps, then covering gradually with the soft palate lifted.
The “ng” sound guides resonance forward and secures pitches. Start piano, then slightly increase intensity without stiffness.
Controlled Vocal Fry and Rounded Vowels for Low Notes
Very brief, controlled vocal fry relaxes the lower larynx. Use it for 10–20 seconds at the start of a session to set up the low register.
Combine it with rounded vowels such as “oo” to widen the air column and stabilize resonance in the lower range.
Sirens and Arpeggios to Smooth Registers
Work on continuous sirens across the whole range, then move to arpeggios alternating “ee” and “ah.” This helps achieve more homogeneous singing.
- Reference points: neutral placement, steady breath, moderate intensity.
- Set short goals to develop your voice progressively.
Tip: practice these exercises for a few minutes a day. This technique helps you gain comfort without forcing and makes the singing more stable.
Recording Yourself and Correcting Yourself: A Complete Guide to Progress
A reproducible recording turns listening into a tool for measured progress.
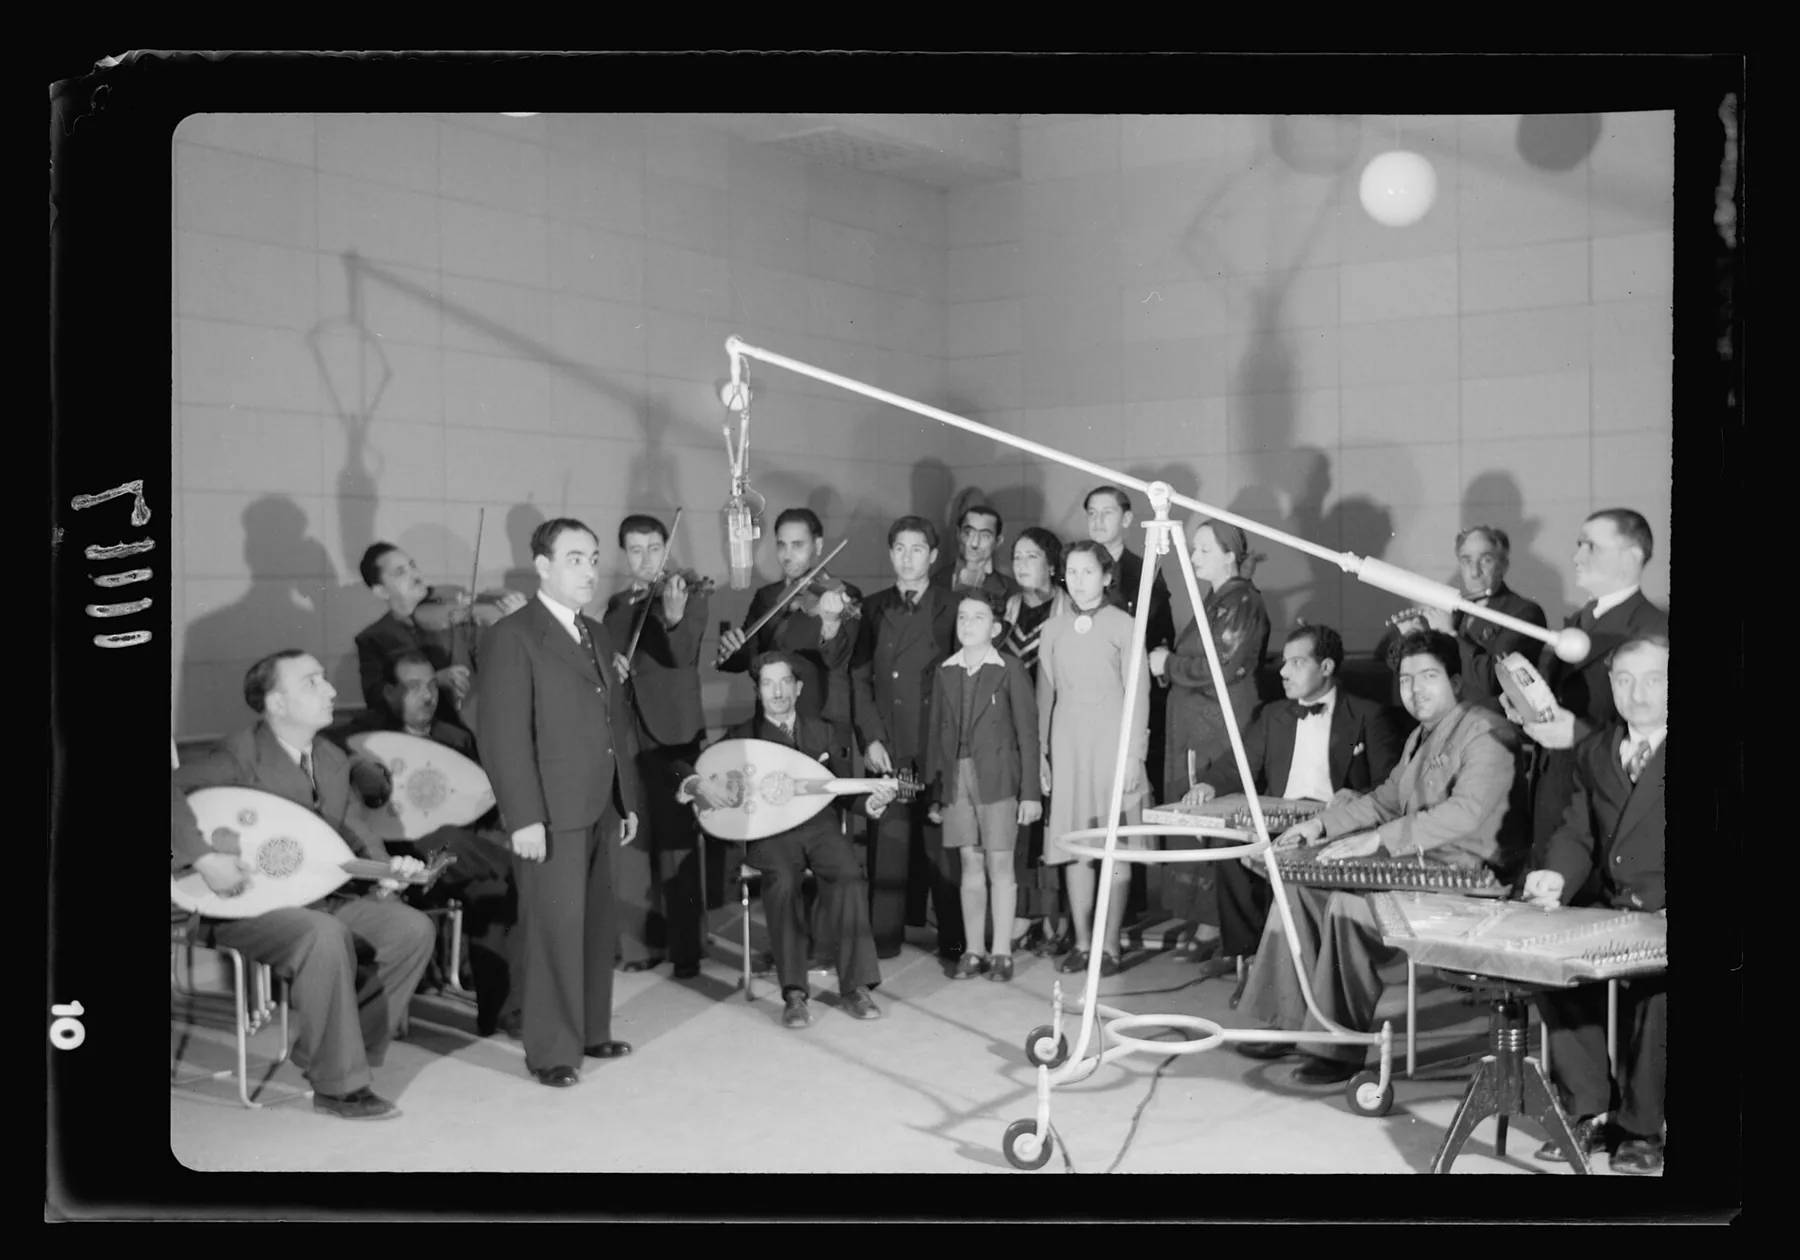
Recommended setup: large-diaphragm cardioid condenser microphone, capsule aimed toward the mouth at 15–20 cm, pop filter, quiet room.
Recording Protocol
Establish a short, identical protocol for each session. Warm up, set the gain to avoid clipping, then test plosives and sibilants.
Critical Listening Grid
Listen in several passes:
- Voice alone: posture, larynx, mouth opening.
- Pitch accuracy: sustained notes and rhythmic precision.
- Line: continuity, vowel colors, and conveyed emotion.
| Step | Check | Expected Result |
|---|---|---|
| Microphone setup | Stable gain, plosive and sibilant test | Clean signal without clipping |
| Main take | Distance 15–20 cm, filter active | Take comparable over time |
| Segmented listening | Voice alone, then mix | Check integration into the section |
How to Correct and Validate
Note 2–3 points to improve, then work on them with targeted exercises. Re-record the same phrase to validate the improvement in the voice.
When to ask for an outside opinion: if you are stagnating, ask the director, a coach, or singing lessons to speed up progress.
For home exercises on posture and ear training, also consult a complete guide that explains how to work effectively.
Interpretation and Emotion: Bringing the Song to Life in Choir
For the song to move the audience, start by knowing who is speaking, to whom, and why. This simple reading guides phrasing and breathing.
Understanding the Text, Phrasing, and Intention
Analyze the context and subtext: identify the semantic accents that determine breaths and points of emphasis.
Practical exercise: “speak on the notes”: say the text at the pitch of the notes before singing. This recenters intention and clarifies the line.
Stage Presence in Service of Vocal Expression
Work on understated presence: gaze, grounded posture, coherent gestures. The accuracy of gesture amplifies vocal expression without masking the other sections.
- Dynamics: play with intensity, color, and phrasing (staccato/legato) to strengthen emotion.
- Video and mirror: film rehearsals to adjust body language and the right dramatic timing.
- If needed, take a singing lesson to refine articulation and vowel colors.
“Speaking the song on the notes makes the interpretation clear and sincere.”
Conclusion
To conclude, remember the simple roadmap that guides every collective vocal progression.
This complete guide sums up: assess, choose your section, learn the basics, warm up, work on pitch accuracy and line, then interpret with care.
Everyone can progress with regular practice. This article explains how to work in a short amount of time to develop your voice and preserve laryngeal health.
Document your progress with recordings, then adjust the method. Try several groups until you know how to find the atmosphere that suits you.
To go further, consult our page on how to work on your voice and continue step by step.